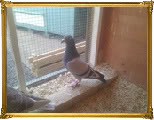
Gimp Professional Photo Guide.
Heres a guide how to make professional photo's like you see in the weeklies and the software is free that is used in this guide. I have never used gimp before this, so if you put the time in practising you will get amazing results. Far better than the image I created.
Step 1 : Download GIMP for free Here :
http://www.gimp.org/downloads/Step 2 : Once installed open GIMP

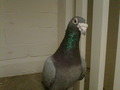
Step 3 : Click on file, then open and find the photo of the pigeon you would like to edit

Step 4 : the toolbar that is up on the left, click on the scissor icon, now going closely around the body of the pigeon, click closely together, the closer together the neater the finished inage
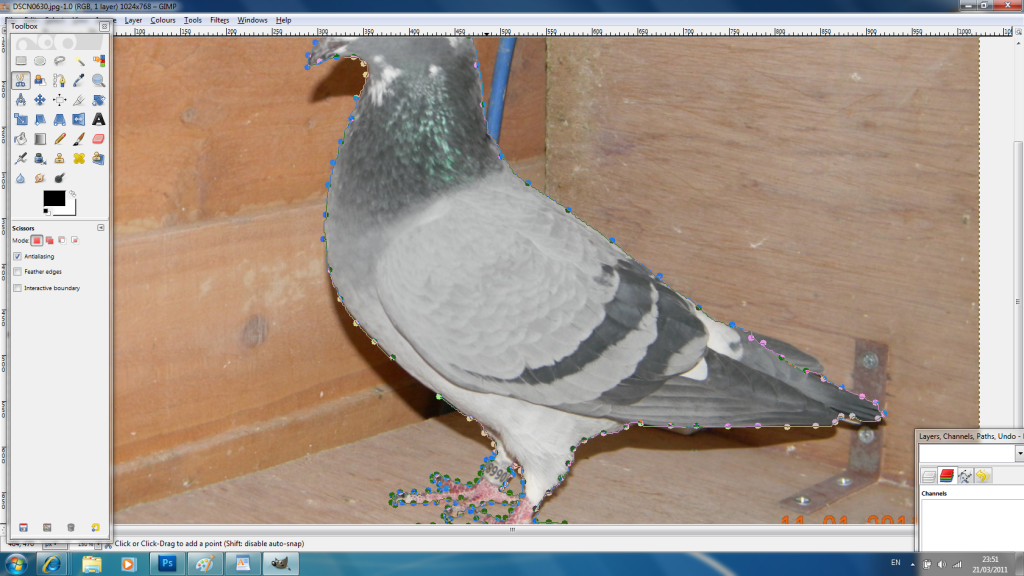
Step 5 : Once you have finished going around the pigeon, click the first dot you started on. This will link the outline of the pigeon together. Now click inside the outline. Now on the left click feather edge and set to about 25%

Step 6: Right click on the image of the pigeon and select copy.

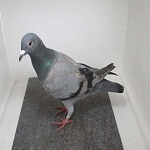
Step 7 : Open the image of the background you want to use, now right click, edit, and then paste. The pigeon will now appear on the background and you can adjust where the pigeon goes on it by clicking and dragging.


***if you now want to add text, click the big capital A on the left box, you can now place the text box where you want. The font they use in the bhw and rp for the pigeons name is comic sans ms bold***
Step 8 : once you are happy with the image, press file, save as and name your file, move the quality slider bar to 100% and click save. Your image is now saved to the location you stored it to, navigate to it and open it. You are now done


 by
by 


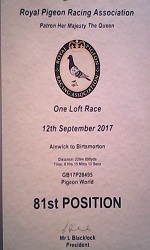
 The N.E.H.U race from Melton Mowbray 21/4/2012 was won by Peel bros of South Shields, they took 1st club 1st fed, also taking 2nd and 4th club and 15 of the 25 birds clocked in the club......well done Peel brothers.